
📏 科技巨作
迪亚纳之宝
迪亚纳之宝下载+迪亚纳之宝攻略

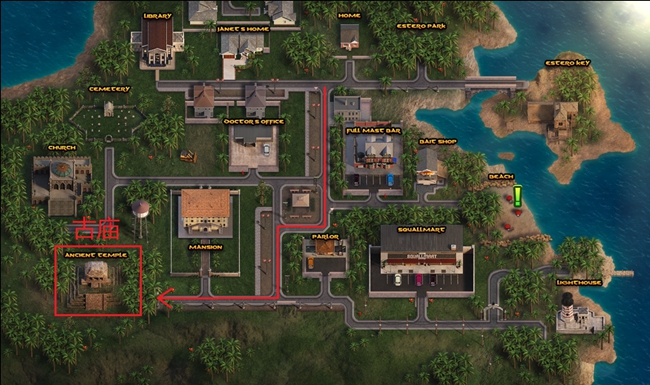

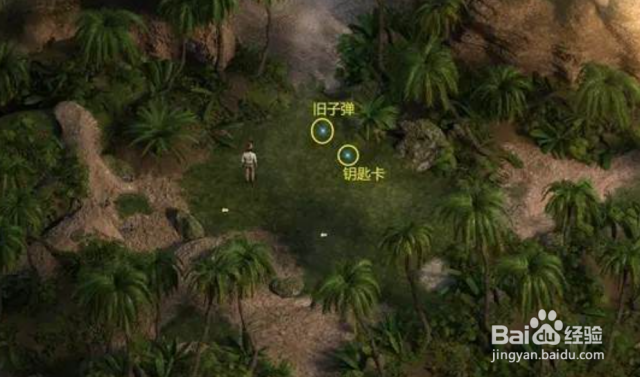

迪亚纳之宝讲的是主角追随他爸的脚步当上冒险家并遇到各种各样的人的故事,在游戏中你可以体验抽卡的快乐,你爸死了,留下一个阿拉丁神灯(就是下面图中的灵魂水晶,作用:指引你的每一步),同时你爸还留了一座烂房子给你(房子好坏决定你能不能打电话摇人,哇,一般的妹子一看到你的房子跟屎一样直接跑了),你可以通过挖宝来赚钱(钱可以买道具也可以修房子),然后你在一系列干事中不断提升自己,也不断提升着妹子们的好感度,也不断接近游戏名字纳迪亚之宝
开启您的科技冒险之旅
暂无相关推荐